How to set up a drip irrigation kit in a raised bed
A drip kit looks like a box of spaghetti the first time you open it. Here is the order we lay one out in, from the faucet to the last emitter.

Sketch the bed first
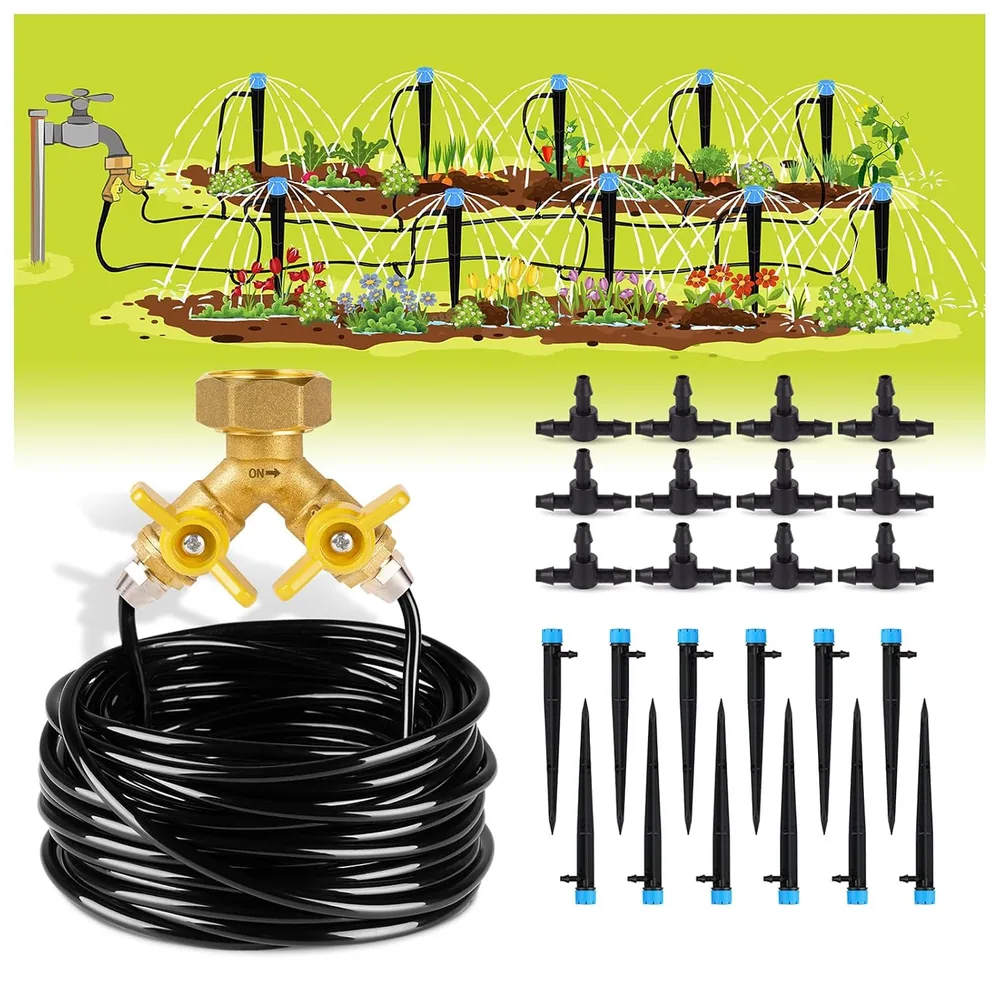
Draw the bed on paper and mark each plant or planting row. Note where the faucet is and how far the main line has to travel. This tells you how much tubing goes to the supply run and how much is left for branches.
Start at the faucet
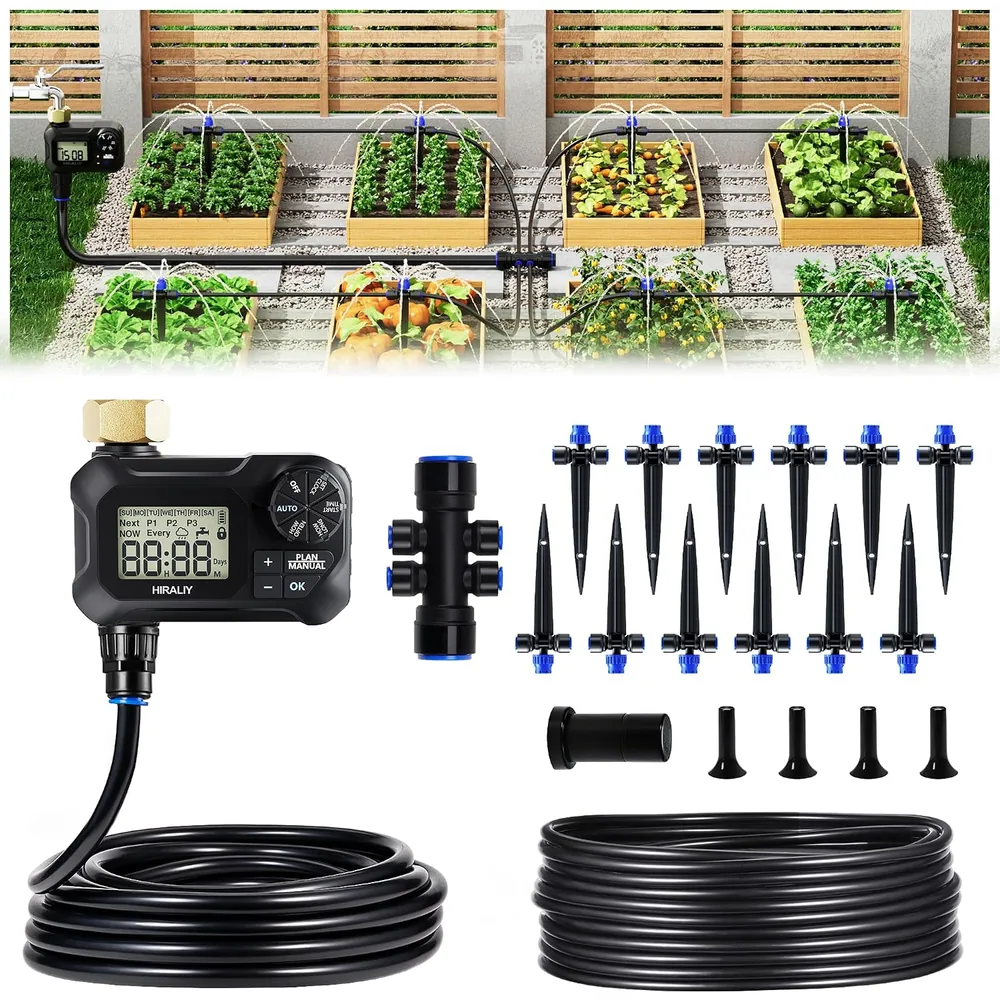
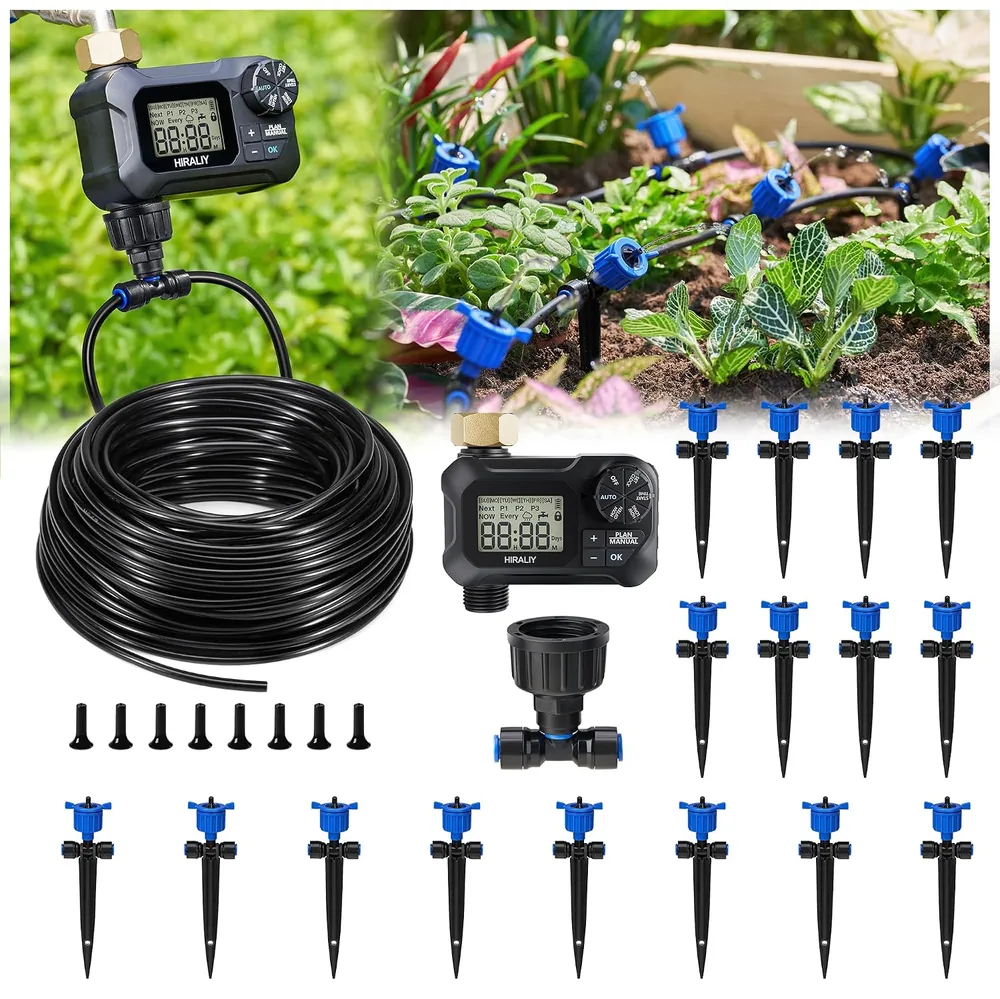
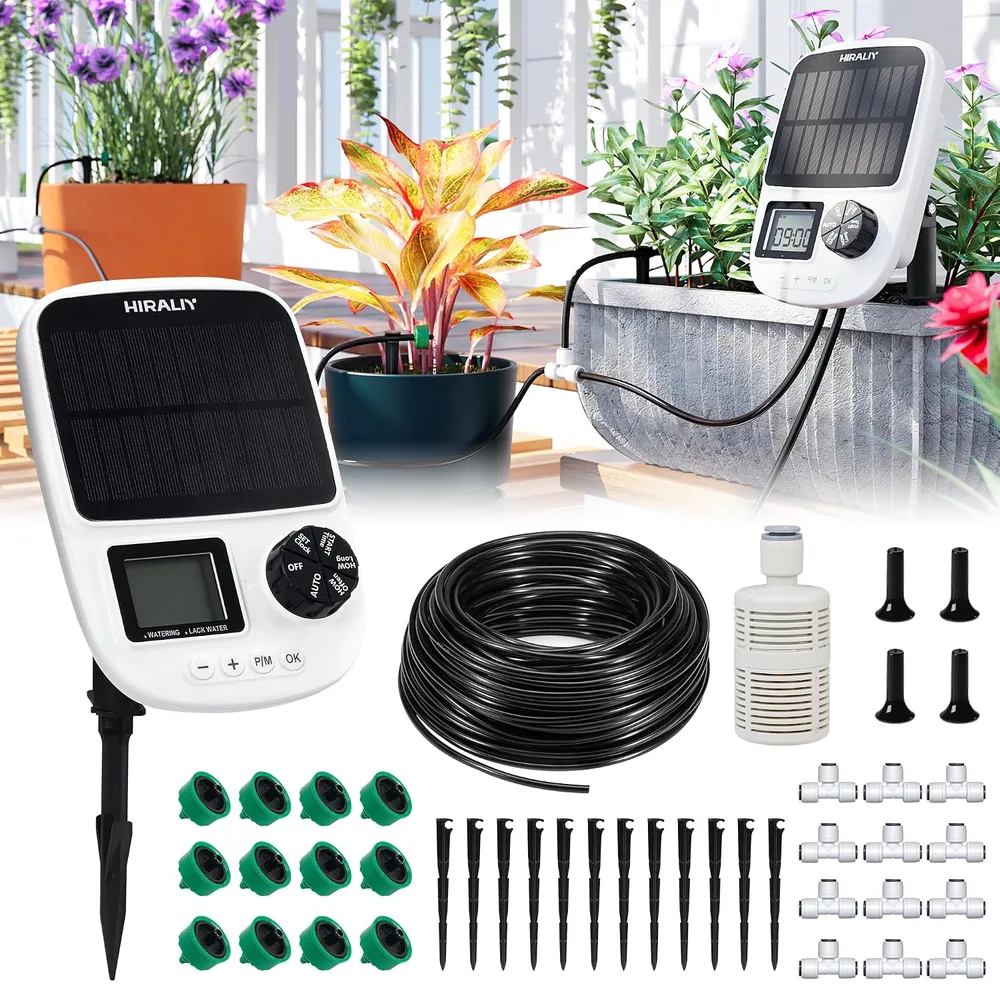
Screw on the splitter or timer by hand, then the water connector. If you are using a timer, fit fresh batteries before you mount it; it is fiddly once the hose is attached. Keep any filter between the faucet and the tubing.
Run the line and branch off
Lay the tubing along the bed edge a few inches from the stems. Where a plant needs water, cut the line square, push in a tee and run a short branch to the plant. A cup of warm water to dip tube ends in makes stiff fittings slide on easily.
Place and tune the emitters
Stake each emitter beside the stem, not on top of it. Open the faucet slowly and turn each head: a slow drip for most vegetables, a small spray for seed rows and shallow roots, off for plants that are already wet.
Close the ends and flush
Before the final plug goes in, let water run through the open end for a minute to clear grit. Then plug or fold the ends and check every joint for weeping.
Program for mornings
Water early, when less is lost to the sun and leaves dry quickly. Start with ten to fifteen minutes every other day and adjust after checking the soil a finger deep.
Updated September 28, 2026 by the HIRALIY team.